Art easel
Authors: Adler Nikodém, Frankovičová Ivana
Introduction
Let us introduce you to our idea for a project.
We want to create an art easel.
Why making an easel when you can buy one? See Ivana's story:
You know, I like art, I like to draw and paint. It's my hobby. Sadly, I don't have much time for art. It takes me a lot of time to create something. I don't have my own art studio like professionals. We currently live in a small apartment and before that we lived in a student dormitory and before that I lived in one room with my brother. I can say that I always have one not very big table for my work and artistic creation. Anyone who has ever tried art knows that time and space are a necessity. The funny thing is that it often takes a lot of time just to make space for work. When you have one table, you use it for many things - the computer, some papers, some books, maybe some food ... and when you decide you want to draw or paint, everything must go off the table. Everything. That means time to clean up the table and time to take out art supplies. Then, for example, you want to devote two hours to art and continue tomorrow. But unfortunately, you often need to use the table in the meantime. That means cleaning up art supplies and putting other things back on the table. And such a vicious circle is created here! No artist enjoys cleaning a table more than drawing or painting.
I've been thinking for a long time about why I don't draw and paint when I want to do it so much. And when I came to the problem I described to you above, it occurred to me ... if I just had an art easel that I could only attach to the edge of the table ... it wouldn't take up lots of space and I wouldn't have to clean my table... win-win!
And I believe I'm not the only one and this idea would be useful to other amateur artists as well.
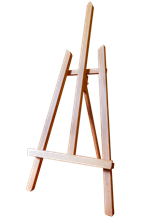
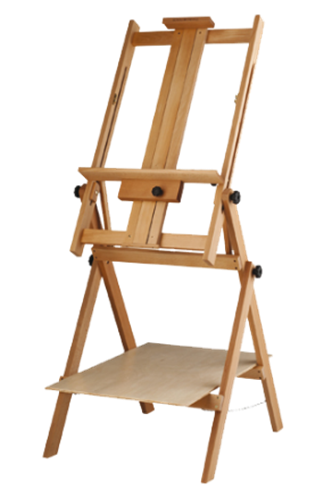
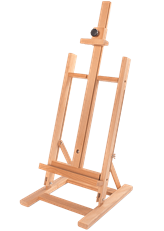
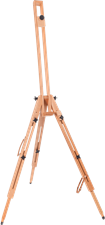
There are a lot of various art easels to buy, but none of them met my idea.
Design
So our vision is a classic wooden art easel with the fact that we attach table clamps to the front legs of the easel, which can be used to attach the easel to the edge of the table.
We need to make sure that the easel is practical. Requirements for the final product:
- possible to attach to the edge of the table
- solid and stable
- suitable size for the table (up to a maximum height of 0.5 m)
- suitable for A6 to A3 canvas
- canvas holder from below, ideally also from above
- adjustable rear leg of the easel
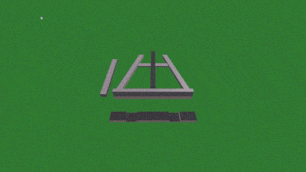
After quick sketch on paper, we quickly made a 3D model without any exact dimensions, so the first design looks like this:
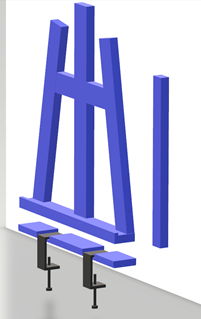
These three parts of the easel you can see, will be attached to each other by metal hinges. We want the main part of the easel to be able to be tilted back. To do this, we need something that supports the main part of the easel at the back and something that will fix the easel at the edge of the table.
The lower part of the easel will be attached to the edge of the table with table clamps. The clamps may or may not be permanently attached to the easel.
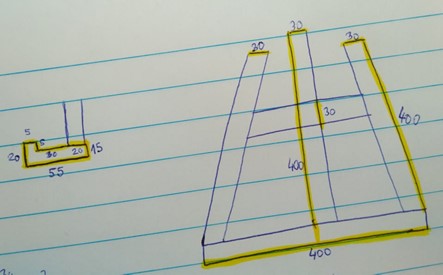
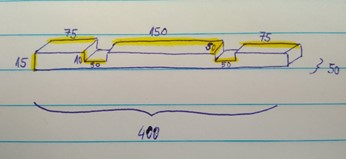
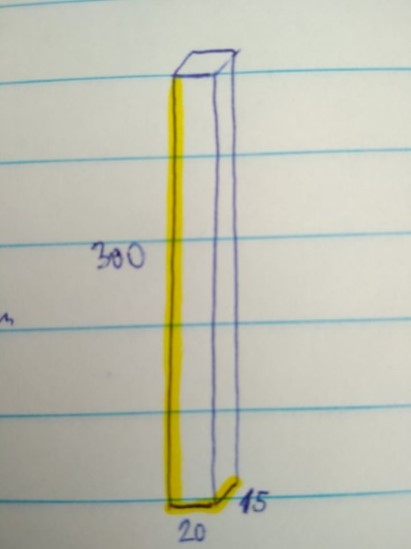
But to make a product, we need to know the exact dimensions of each part of the easel. Each wooden part will be cut separately, so it must also be designed and modeled separately. We also need to know what components we need to buy.
This is our sketch of the wooden parts of the easel with exact dimensions:
3D model
Since we already have the dimensions of the easel defined, we can create a 3D model that will be used for a machine that will carve wooden parts in FabLab.
We used Blender to create our 3D models.
Final product
Our easel will be carved in FabLab. Unfortunately, it is not ready yet.
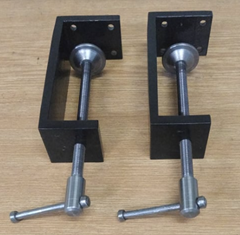
But we have our home-made metal table clamps ready and they look like this:
We are sure that after the completion of the product, we will have a great useful product and we are looking forward to it.
 2023/2024